
A Beginner’s Guide to Building a Gaming PC
Building a gaming PC may sound intimidating, but it’s one of the best ways to get high performance at a lower cost compared to pre-built systems. With the right guidance, beginners can easily assemble their own custom gaming rig. This beginner’s guide to building a gaming PC will walk you through the essential components, step-by-step process, and tips to get started.
Why Build Your Own Gaming PC?
Cost-Effectiveness
When you build your own PC, you only pay for the parts you need, avoiding unnecessary extras found in pre-built systems. This allows you to maximize performance within your budget.
Customization
You have full control over every component, from the graphics card to the case design. This ensures your gaming PC matches your performance goals and style preferences.
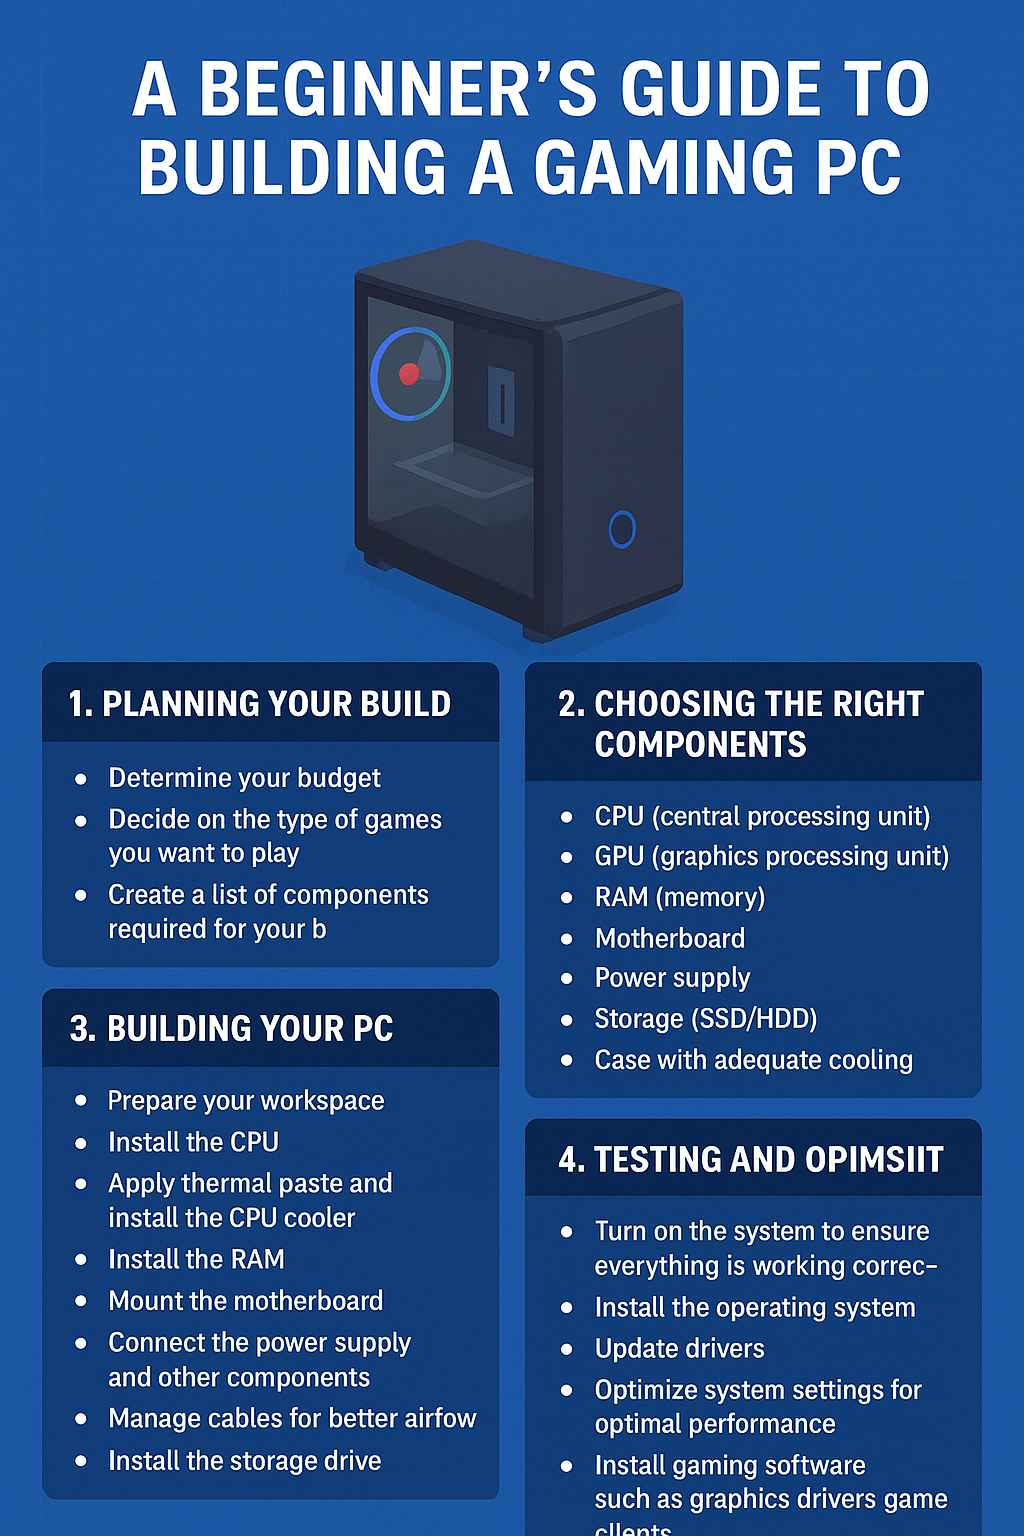
Essential Components of a Gaming PC
1. CPU (Processor)
The CPU is the brain of your system. Popular beginner-friendly choices include the Intel Core i5 and AMD Ryzen 5 series, offering a balance of price and performance.
2. GPU (Graphics Card)
The graphics card is the most crucial part of a gaming PC. Options like the NVIDIA GeForce RTX 4060 or AMD Radeon RX 7600 provide excellent 1080p and 1440p performance.
3. RAM (Memory)
For smooth gameplay, at least 16GB of DDR4 or DDR5 RAM is recommended. This ensures your PC can handle modern titles and multitasking efficiently.
4. Storage
An SSD (Solid State Drive) is essential for faster boot times and game loading. A combination of a 500GB SSD and a 1TB HDD is common for beginners.
5. Motherboard
The motherboard connects all components. Choose one that supports your CPU socket type and has expansion options for future upgrades.
6. Power Supply Unit (PSU)
A reliable PSU ensures stable power delivery. For most beginner builds, a 550W–650W PSU from a trusted brand like Corsair or EVGA is sufficient.
7. Case and Cooling
The case houses your components. Beginners should look for mid-tower cases with good airflow. Stock coolers often work fine, but aftermarket options can improve performance and noise levels.
Step-by-Step Assembly
1. Install the CPU, RAM, and Cooler
Begin by placing the CPU and RAM on the motherboard, followed by attaching the cooler.
2. Mount the Motherboard
Carefully screw the motherboard into the case, ensuring all ports align correctly.
3. Connect the GPU and Storage
Install the graphics card into the PCIe slot and secure your SSD or HDD into the drive bays.
4. Wire the PSU
Connect all power cables from the PSU to the motherboard, GPU, and storage devices.
5. Power On and Install OS
Once everything is connected, power on your PC and install your operating system (Windows or Linux) to start gaming.
Final Thoughts
Building a gaming PC as a beginner may seem challenging, but it’s rewarding, cost-effective, and fun. By understanding each component and following simple steps, you’ll have a powerful machine tailored to your gaming needs. Start small, plan your budget, and upgrade over time as your skills and requirements grow.